Featured

Oh the Places We Will Go!

How our family of 6 begins our adventure in RV living.

The famous book by Dr. Seuss comes to mind as we start our adventure. “Congratulations! Today is your day. You’re off to Great Places! You’re off and away!” (Dr. Seuss)

Some might think we are crazy. Other’s might think that we are insane! I mean who in their right mind sells off everything they have, packs their entire family of six into a travel trailer with a cat and a dog and heads out for a nomadic lifestyle…. We do.

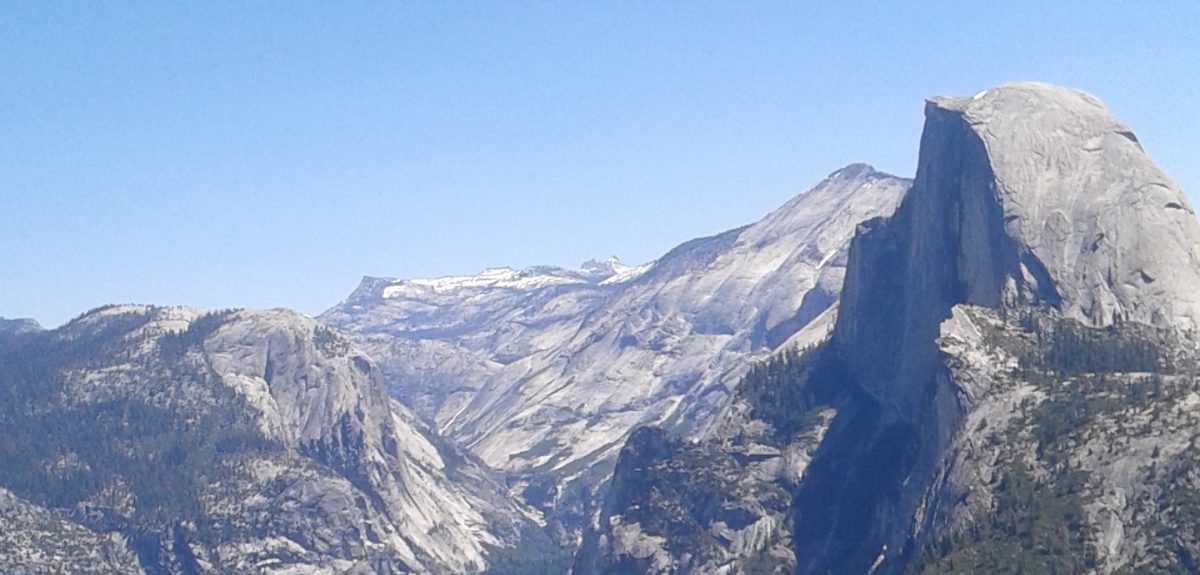
We started this journey a couple of months ago by pulling our children from public school and deciding to homeschool over the summer. It was pretty harmless at first, the only thing at risk was a few learning opportunities during summer break. Then, we tacked on a week long summer trip to California.  We spent a week traveling Route 66 through the Grand Canyon and up to Yosemite National Park. IT WAS FABULOUS! The next week, we traveled to Florida. That’s right back to back… coast to coast. The kids loved it.

Once we settled into Homeschool life, it was amazing watching the kids learn and grow. We were hooked. That’s when we decided to go full force and dive into full-time rv living.

The journey has not been easy. We have had to rethink the way we do everything from taking simple showers to grocery shopping. We have had to retrain our minds.

And now we come to the critical point… Launching. Go or no go… Take a leap of faith or turn and walk back to our safety nets… When considering all the little ones involved, it is a pretty daunting decision.

But, faith has guided us thus far, and faith will continue to show us the way. Believing and trusting in God’s plan is a must.

Will we succeed?… According to Dr. Seuss “Yes! You will indeed! (98 and ¾ percent guaranteed.)”post

Downsizing into an RV

How to downsize and faithsize your life.

Full time RV living is not for the faint of heart. You have to rethink everything that society has trained you for. As Americans, it is always more, more, more. Bigger house, bigger car, more stuff, bigger dreams. Next thing you know, you are staring at a large house that is packed full of things that you don’t need.

We started the process of downsizing several months ago. We had looked around and decided that the big house and all the fancy things just weren’t us. We didn’t need a tv room, media room, play room, and game room. We didn’t need six bedrooms. We didn’t need the big backyard. We just didn’t need it…

We looked around and saw parents that were disconnected with their children because of electronics, families so busy that they forget to stop and enjoy the smiles of their little ones. But, unfortunately, that is how many of the families in our area are becoming. You get wrapped up in little league, gymnastics, ballet, sports, work and a slew of other social commitments that you don’t have time to enjoy life.

That’s when we decided to downsize. Or, as I like to call it, faithsize… The process of faithsizing didn’t occur overnight. It has taken us six months to make this transition. And all along the way, our faith and trust in God has been tested. We are constantly worried, are we making the right decision? What if we fail? Is this really what we are meant to do? But then we are given a glimmer, a sign that He is with us and always watching out for us.

So what is the process to faithsize / downsize your home?

Take it in waves. With every room we took things in waves. The first sweep / wave was always a general clearing of trash and items that we knew we didn’t want to keep. This step was the easiest because it resulted in a 50% reduction in the items left for storage / packing. Most people also do this first sweep during any moving process or garage sale season to remove clutter.

After the first wave, we went back and did a second wave of reduction. Items leftover from the first wave that we thought we wanted to keep had to be re-evaluated for overall importance and purpose. This was a little more difficult because we had to justify keeping it either in storage or in the RV, which were both limited in space. And in some rooms, a third wave had to be done. We kept repeating the process until our home of 4,400 sq ft was reduced down to an RV and items that could fit into a single storage unit.

Trust in God’s Plan for You. If you don’t know God, I encourage that find yourself a church home. He has shown us the way many times during our adventure. And learning to trust and have faith in His plan has been an experience. It never ceases to amaze me that when we believe, He shows us His grace and love in the most AMAZING ways.

But, no matter where you are going, what you’re downsizing into, or the reasons on why you are choosing to simplify your life… Never forget that God should always be in it and home is where you park it.

Touring Washington D.C. – RV Style

Free activities and how to get around Washington D.C. in an RV.

Well, we finally made it to the Washington D.C. area. The roads are not very RV friendly (or large truck friendly for that matter). So prepare yourself and take an extra dose of patience before entering the greater D.C. area.

We are staying at a great KOA Campground right out side the D.C. area (about a 40 minute commute into downtown). KOA has become our campground of choice. They have RV hookups in both 30 watt and 50 watt. They are also very dog and kid friendly. The ones that we have been to have had an awesome playground for the kids and also a dog agility course for our furry child.

As far as taking the RV into downtown, I highly advise against it. In fact, I also advise against taking any vehicle into greater downtown. There are plenty of commuter options available. But, if you are like us and not familiar with metro transportation… then you might wonder what to do. We drove our truck into town and parked up by Union Station and walked.

There are several parking spots near Union Station that accommodate large vehicles. The parking lot we chose was $8 a day. However, be prepared to pay double if you are an over-sized vehicle and need two spots. You can also choose to park over at Arlington National Cemetery and walk. Parking is a little more over there for day parking. It is also a long walk, so I would advise against it if you have littles.

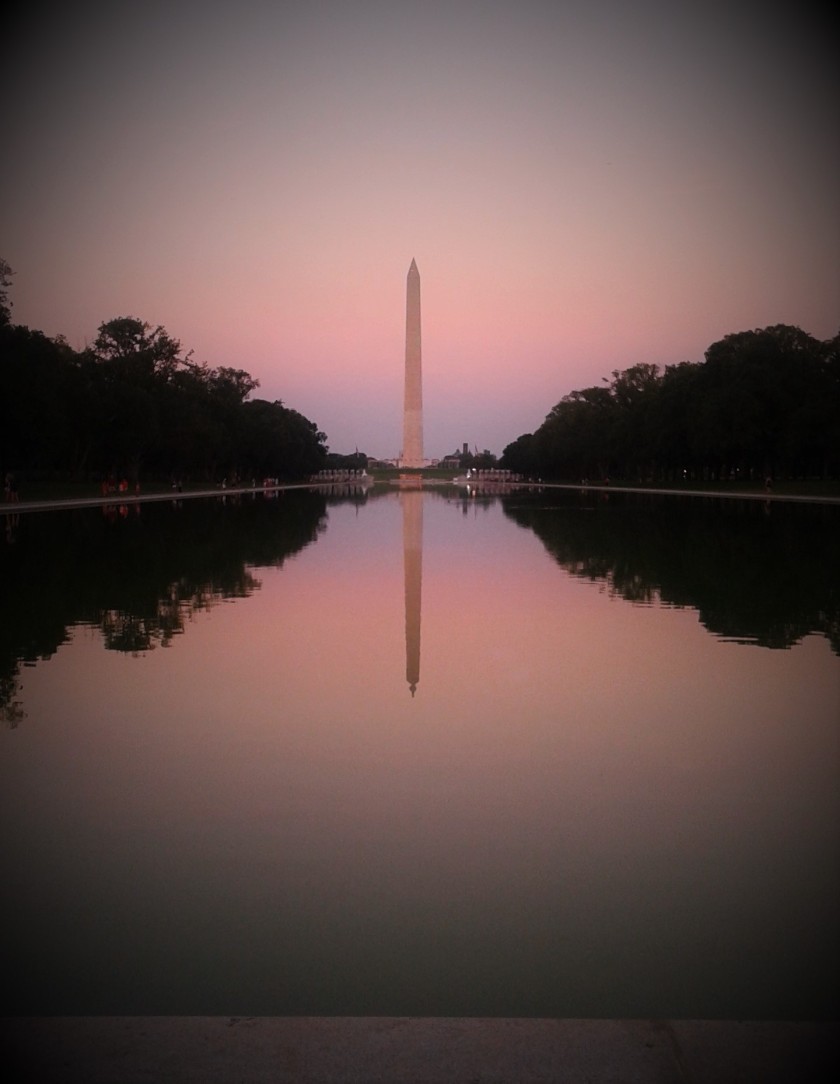
After 6:30 p.m. the street parking of Washington D.C. along the Washington Memorial and Smithsonian open up. Once we left Union Station and Capitol Hill, we parked down along the Washington Memorial and walked to the White House and Lincoln Memorial. It was about a 1 hour walk in total, but we took a little longer while we waited at the Lincoln Memorial for night lighting to illuminate the area. Well worth it.

Oh, did I mention that all this activity was FREE! That’s right! Our tour of the Nation’s Capitol Building, visit to Washington Memorial, and Lincoln Memorial… all FREE. The only thing we paid for all day was the $16 for parking (because we were over-sized) and any souvenirs / food that we wanted. In fact, many of the buildings are free to the public.

All in all, I would say that it was a great learning day. The kids learned a lot about government and presidential history. Later this week we will dive into the world of the Smithsonian and hopefully find “The Thinker” statue so our oldest can cross an item off her bucket list.

But until then, remember that no matter where you go and what you do… Home is where you park it.20160829_194253 (2)

I-10 – The Ultimate Test in RV Storage Securing

Testing our RV storage skills. Top 5 methods of securing items in a RV.

As we made our way across I-10 in Louisiana yesterday, our RV packing skills got the ultimate test. Our ears cringed with every tha-thunk, tha-thunk, tha-thunk that we rolled over going down the highway. 20160827 I-10

If you ever traveled I-10 between Lake Charles and Baton Rouge, you know what we are talking about. The constant bumping of the uneven road is worse than the washboard effect you get on dirt roads after a long period of no grading.

In any case, our inspection on the interior components of our RV revealed that we have some more securing strategies to come up with. So, in honor of that… our top 5 methods of securing…

  1. Make sure all items are tied down. This mainly refers to any heavy electronics. Luckily we had ratchet strapped our TV in place so we had no issues.
  2. Make sure shelving has a ledge to keep things from sliding off. We had installed some shelving outside of the normal factory shelves. Part of our movement preparation is to bring all items off the shelf and place on the bed or couch area for securing.
  3. Make sure counter-tops are clear. All items are subject to sliding on the laminate counter-tops. We usually secure things by placing in the sink or a cabinet.
  4. Bungy cords work well. We have a bookshelf full of items for our homeschooling activities. We initially placed the books on the shelf and hoped they would fair well… wrong… We ended up installing a screw at each end of the shelf to hook a bungy cord to. This method worked a lot better.
  5. Don’t over stack cabinet areas.  Initially we stacked items, like can goods, in the cabinets as high as they could go, keeping like items stacked together. We ended up with several single items near the front of the cabinet. Initially, it made the appearance that we had plenty of storage space, which is an awesome feeling… Later, however, it makes you feel like a you are in a war zone as you dodge missiles that fly from the cabinet when you open the door. Our method (for now) Make sure cabinets maintain a low profile AND DUCK AND WEAVE when opening any cabinet after travel.

For now.. we are still learning. But we will always remember that home is where is you park it.

On the Road!

Staying near Sulphur, LA with a dog

In the great words of Dr. Seuss, “Congratulations! Today is your day! You’re off to great places! You’re off and away!”

We are OFFICIALLY ON THE ROAD! It has been great to call ourselves full-time rvers!

Our first stop has landed us in a great community near Sulphur, LA. I can’t say enough about the awesome folks here at A+ Motel and RV Park. They were very accommodating with our late night arrival and very friendly. The park has lots of amenities and is also dog friendly. FANTASTIC!

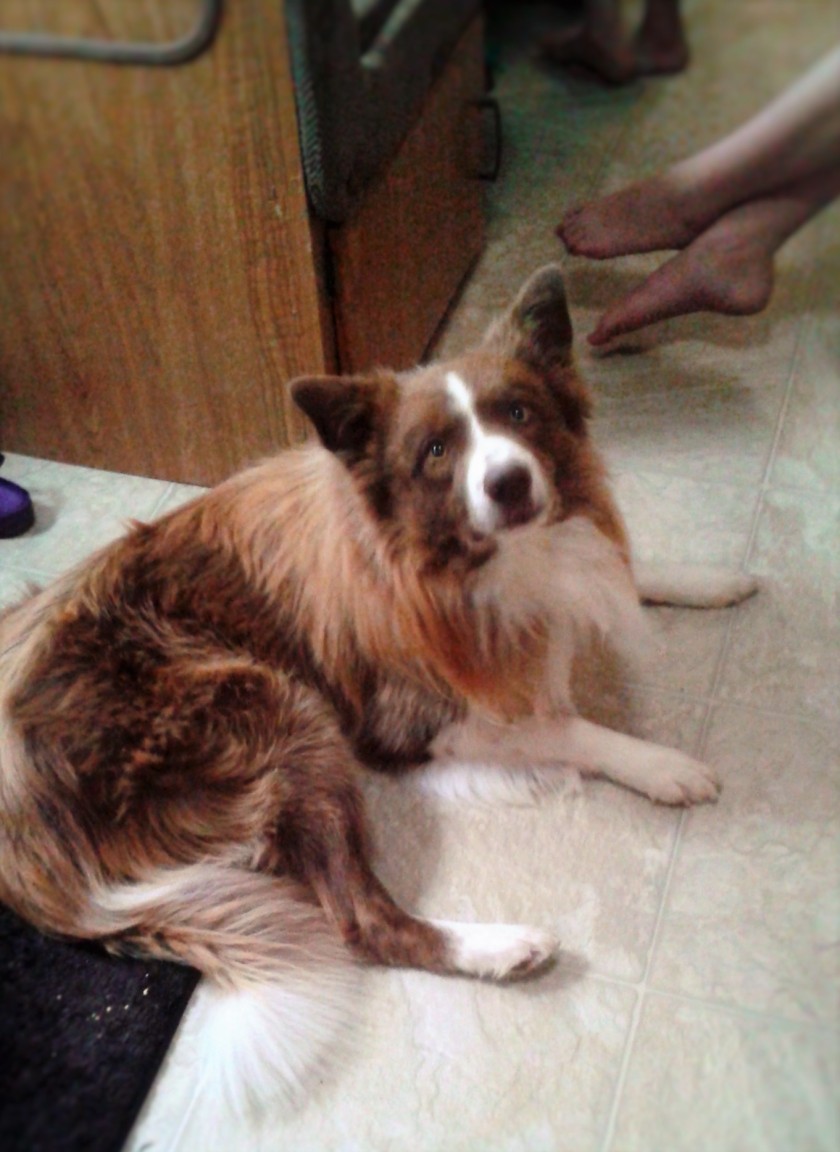
Oh, yeah, did we tell you that we are traveling with a dog and a cat! In honor of National Dog Day, here is our Sam!

Sam is a border collie. The breed is very intelligent, which is why we love him so much. It took him 15 minutes to learn roll over. He knows basic agility as well. The breed thrives on having a job. And while most fall into the spot of herding sheep or cattle, our Sam has fallen into the job of herding kids. He makes sure they are doing what they should be doing. And with four of them running around, he has his work cut out for him.

Well time to load up and see some more great places. Next stop… the Appalachian Mountains…

20160827_090906 (2)

Moving Tips

5 Moving Tips

While packing out our house and preparing for another move, it occurred to me that there are several tips that we have acquired through the years. While the best way to move is to hire someone, hiring a person comes with a costs and you loose some ability in what stays and what goes.

We hired a company to move us once and they ended up packing EVERYTHING up in boxes. This is great for a no hassle quick move. But it also means that EVERYTHING comes with you… all the way down to the clutter that could have been trashed.

Since then, we have pretty much been DIY in the moving department. It allows us the opportunity to declutter in the process. But, we will talk about how to do that another day.

So, my top moving tips…

  1. Do it one room at a time. We have found that tackling one room at a time is effective and works. We spend the extra time to work through the clutter that has accumulated over the years and pack things that we actually want to take with us.
  2. Use styrofoam plates as cushions. When ever we move, a trip to the dollar store is a must. We purchase several styrofoam plates, bowls and cleaning supplies for use during our move. The plates come in handy for a cushion between the ceramic or glassware. We layer our plates and alternate glassware with styrofoam to ensure that nothing rubs or gets broke.
  3. Leave the spare bedding and towels out. Our first move we threw all our bedding and towels in one box and called it good. But, then we were stuck buying a whole bunch of bubble wrap for our fragile items. Not anymore… Now we keep the towels and bedding out and utilize it in boxes as we would bubble wrap.
  4. Leave some kids toys for last. With our four children, there is no shortage of toys in our house. And, when they get packed up, you would think that the end of the world is coming. To help ease the stress of moving with our littles, we keep some of the more popular out for last. Bikes and scooters are a must for last minute packing. The kids can play with them almost all day and it provides them with an outdoor activity.
  5. Save a box for last. It never fails that when we think we got all the rooms packed, we can walk around and find a few odd ball things lying around. Usually one of two things happen. Either one we decide ‘too bad so sad’ and chunk it in the trash. Or two, we decide we need to take it with us. Then it goes into our ‘catch-all’ box.

No matter what place or reason you are moving, remember that it will only be as pleasant of an experience as you make it. Also remember that it is a stressful time for you. If you have littles, it is even more stressful for them. So, when packing all those boxes… don’t forget to pack your patience.